[Linux]CentOS8에 WordPress 설치하기
워드프레스를 시작하려고 하니 먼저 도메인 등록과 웹호스팅 신청을 해야 한다고 해서 VM에 먼저 설치한 후 공부 좀 해봅니다.
- CentOS 8을 VM에 설치합니다.
- nginx 설치
– nginx 설치
– nginx 서비스(데몬) 실행
– nginx 설치 버전 확인# dnf install nginx -y # systemctl enable --now nginx # nginx -v
- mariadb 설치
– mariadb 설치
– mariadb 서비스(데몬) 시작
– mariadb 보안 강화 : root사용자 비밀번호를 설정하고 모두 “Y(yes)”를 입력하면 됩니다.# dnf install mariadb-server -y # systemctl enable --now mariadb # mysql_secure_installation
- PHP 8 설치
– EPEL 패키지 설치
– Remi repository 패키지 설치
– 디폴트 PHP 저장소를 비활성화하고 PHP Remi 저장소 활성화
– PHP 8 설치
– PHP 버전 체크
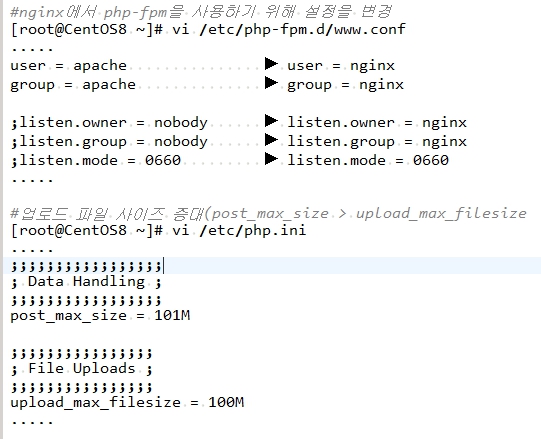
– nginx에서 php-fpm을 사용하기 위해 설정을 변경
– 업로드 파일 사이즈 증대(post_max_size > upload_max_filesize
– PHP-FPM 환경설정 테스트
– PHP-FPM 서비스 실행# dnf install https://dl.fedoraproject.org/pub/epel/epel-release-latest-8.noarch.rpm # dnf install https://rpms.remirepo.net/enterprise/remi-release-8.rpm # dnf module reset php # dnf install php php-mysqlnd php-fpm php-opcache php-curl php-json php-gd php-xml php-mbstring php-zip -y # php -v # vi /etc/php-fpm.d/www.conf # vi /etc/php.ini # php-fpm -t # systemctl enable --now php-fpm
- WordPress를 위한 mariadb 생성
# mysql -u root -p
CREATE DATABASE wordpressdb;
CREATE USER `wordpressuser`@`localhost` IDENTIFIED BY 'yourpasswd';
GRANT ALL ON wordpressdb.* TO `wordpressuser`@`localhost`;
FLUSH PRIVILEGES;
EXIT;
- WordPress 다운로드 및 설치, 소유자 변경
– “https://ko.wordpress.org/“에 접속하여 최신버전의 워드프레스 다운로드
– FileZilla 등의 FTP 유틸리티를 사용해서 “/var/www/html” 디렉토리에 업로드
– WordPress 설치파일 압축 해제
– wordpress 디렉토리 이름을 사용하고자 하는 도메인으로 변경(domain/domain.com/domain.co.kr/domain.kr 등)
– 소유자 및 소유그릅을 nginx로 변경# cd /var/www/html # tar -xvzf latest-ko_KR.tar.gz # mv wordpress yourdomain # chown -R nginx:nginx /var/www/html/yourdomain
- nginx 환경설정 파일에 WordPress용 가상 호스트 등록
– nginx에 WordPress용 가상 호스트 등록을 위해 환경파일 설정
– 등록한 가상호스트에 syntax error가 없는지 테스트
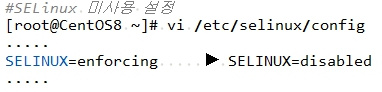
– nginx 서비스 재실행# vi /etc/nginx/conf.d/yourdomain.conf server { listen 80; server_name yourdomain ip_address; "◀ ip_addrss에 서버 ip address 입력" root /var/www/html/yourdomain; index index.php index.html index.htm; # set client body size to 100 MB # client_max_body_size 100M; location / { try_files $uri $uri/ /index.php?$args; } error_page 404 /404.html; error_page 500 502 503 504 /50x.html; location = /50x.html { root /usr/share/nginx/html; } location ~ \.php$ { try_files $uri =404; fastcgi_pass unix:/var/run/php-fpm/www.sock; fastcgi_index index.php; fastcgi_param SCRIPT_FILENAME $document_root$fastcgi_script_name; include fastcgi_params; } } # nginx -t # systemctl restart nginx - SELinux 비활성화, Linux OS 방화벽 미사용 설정 및 재부팅
– 테마, 플러그인을 추가로 설치하시려면 반드시 재부팅해야 합니다.# vi /etc/selinux/config # systemctl disable --now firewalld # reboot
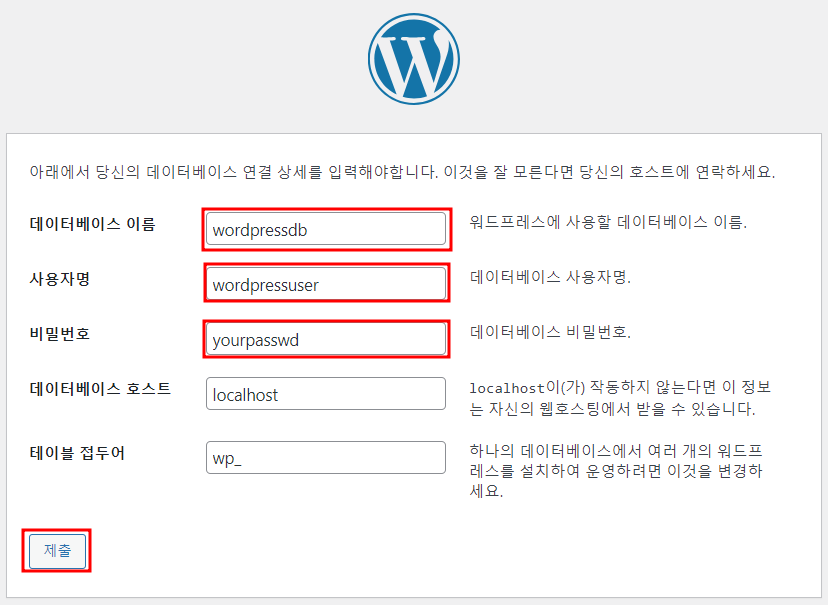
- WordPress 웹사이트 접속(브라이저 URL에 http://ip_address 입력)

- 5단계에서 WordPress용 mariadb 생성 시 설정한 데이터베이스 이름, 사용자명, 비밀번호 사용
- 아래 12단계에서 사용할 wp-config.php에 대한 환경설정 복사, 아직 “설치 실행” 버튼을 클릭하면 안됩니다.
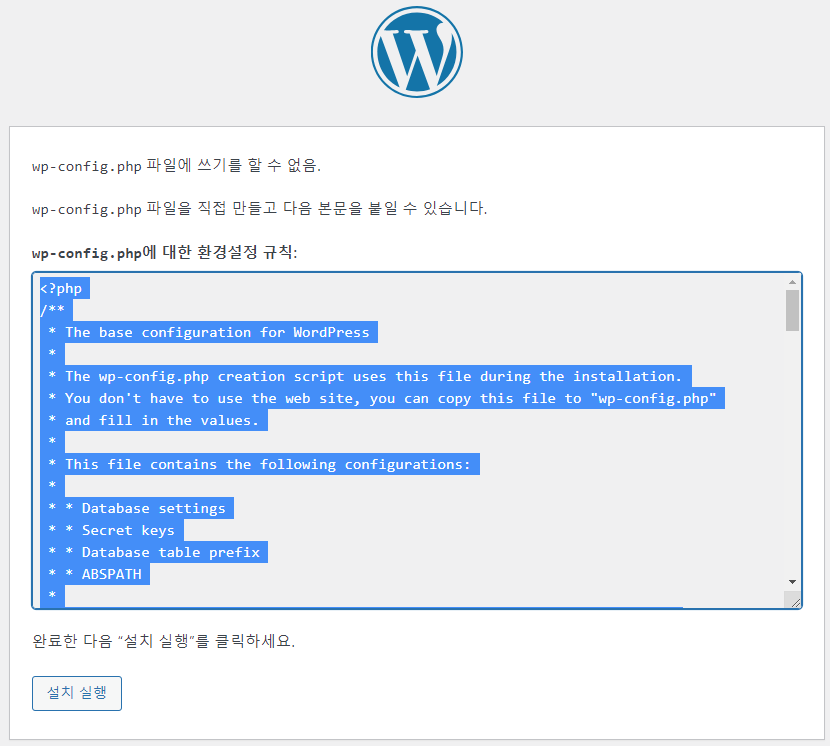
- wp-config.php 파일 생성
– 11단계에서 복사한 내용을 wp-config.php에 붙여넣기한 후 저장합니다.# vi /var/www/html/yourdomain/wp-config.php
- 11단계의 화면에서 “설치 실행” 버튼 클릭
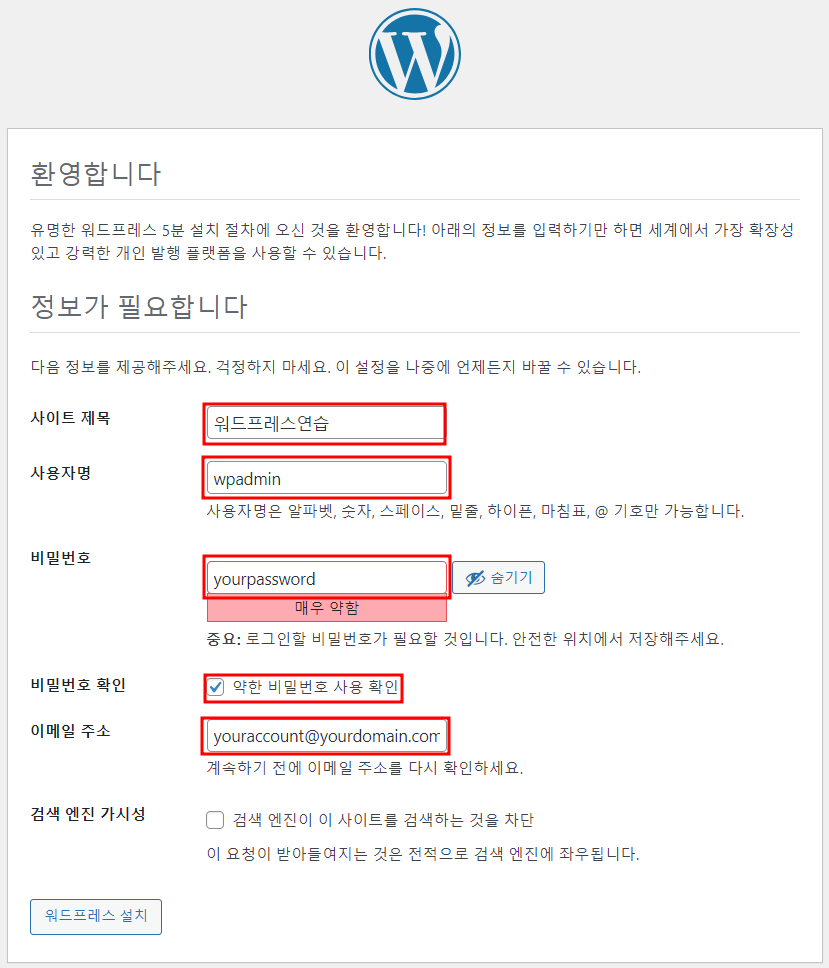
- 워드프레스 설치를 위한 기본 정보 입력
– 사이트 제목, 사용자명(관리자) 및 비밀번호, 이메일 주소
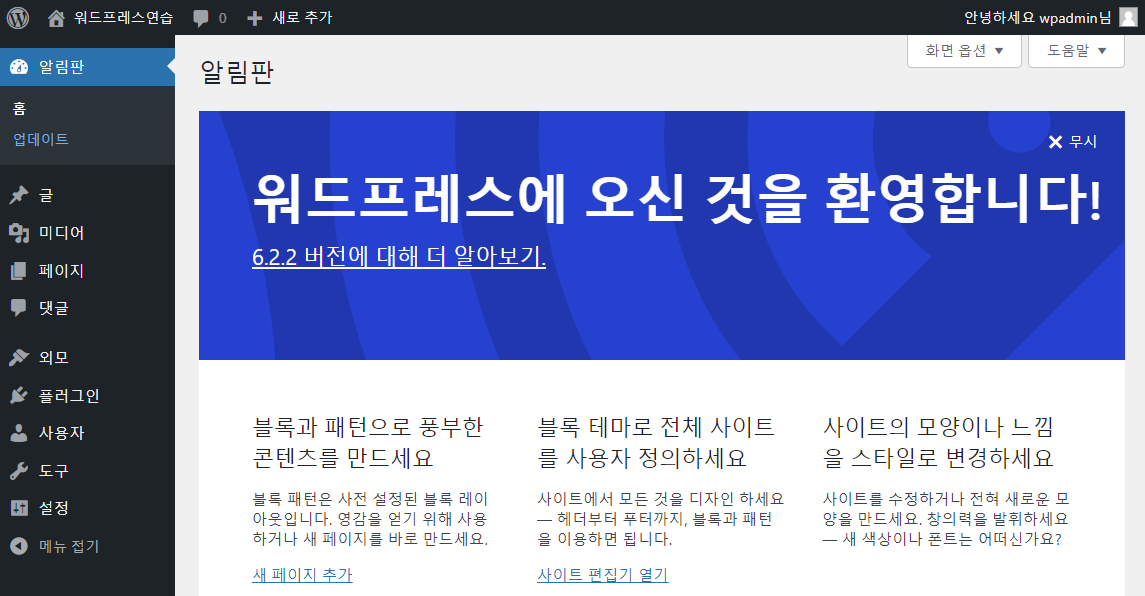
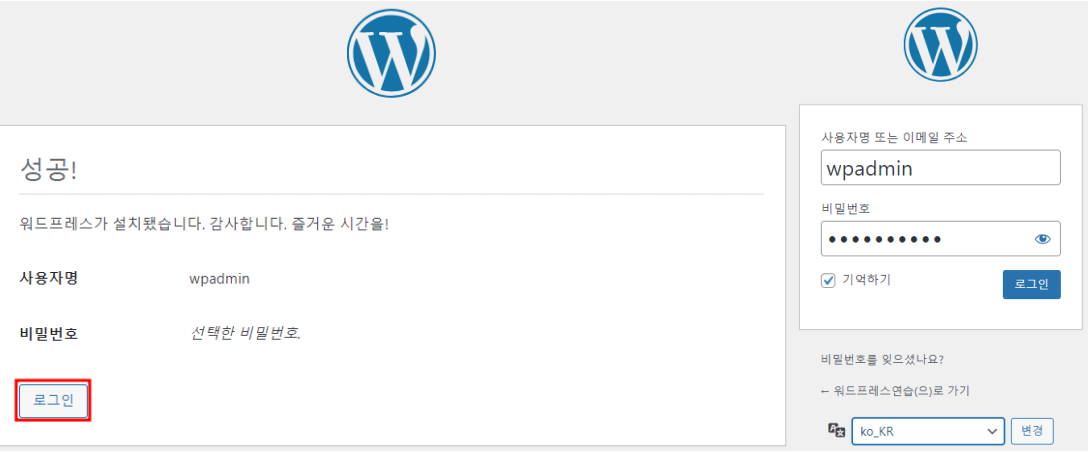
- 설치 성공 및 워드프레스 관리자 화면 로그인(http://ip_address/wp-admin)
- 관리자 화면