[WordPress]VM에 워드프레스 복구하기(들여오기)
이번 blog는 내보내기된 워드프레스 파일을 들여오기(복구)하는 방법입니다. 복구은 VitualBox에 설치된 VM(CentOS 8 + 워드프레스) 운영환경에서 진행했습니다.
- All-in-One WP Migration 플러그인을 사용해서 들여오기
- FTP(파일질러)를 사용해서 플러그인, 테마, 미디어 파일 업로드하기
- VM IP로 워드프레스 접속 IP 변경하기(mariadb)
- VM IP로 워드프레스 접속 IP 변경하기(nginx)
1. All-in-One WP Migration 플러그인을 사용해서 들여오기
- 먼저 “All-in-One WP Migration” 플러그인을 복구환경에 설치합니다. 설치방법은 워드프레스 백업하기(내보내기)에서 이미 설명했습니다.
- “All-in-One WP Migration ▶ 들여오기” 서브메뉴를 클릭합니다. “들여오기” 방법으로 “파일”을 선택합니다.
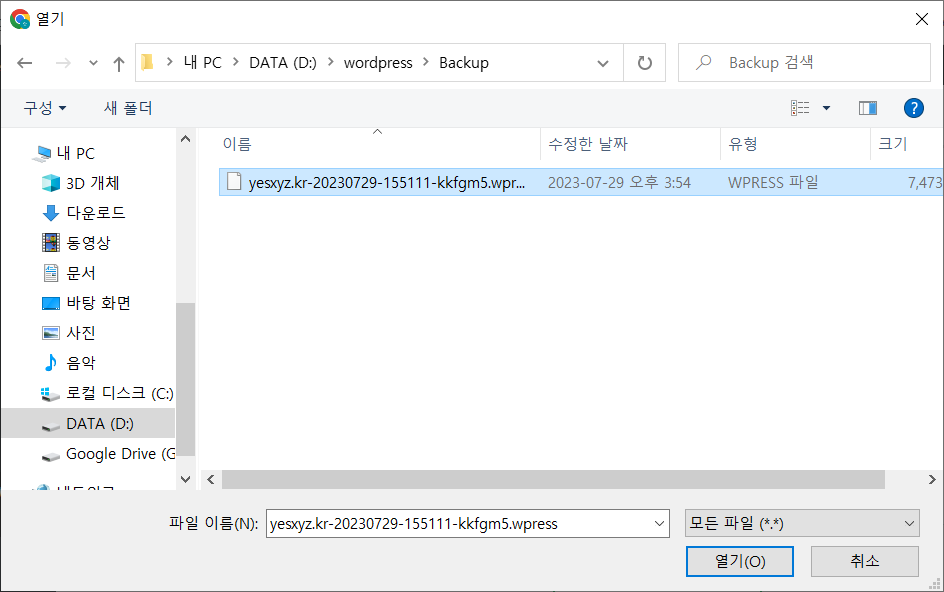
- “열기” 창이 뜨면 워드프레스 백업하기에서 저장한 파일을 선택합니다,
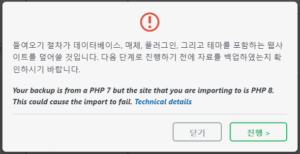
- 들여오기 프로세스가 “진행”되고, 완료되면 “마침” 버튼을 클릭합니다.

2. FTP를 사용해서 플러그인, 테마, 미디어 파일 업로드하기
- 우선 VM에 FTP 서비스가 설치되어 있어야 합니다.
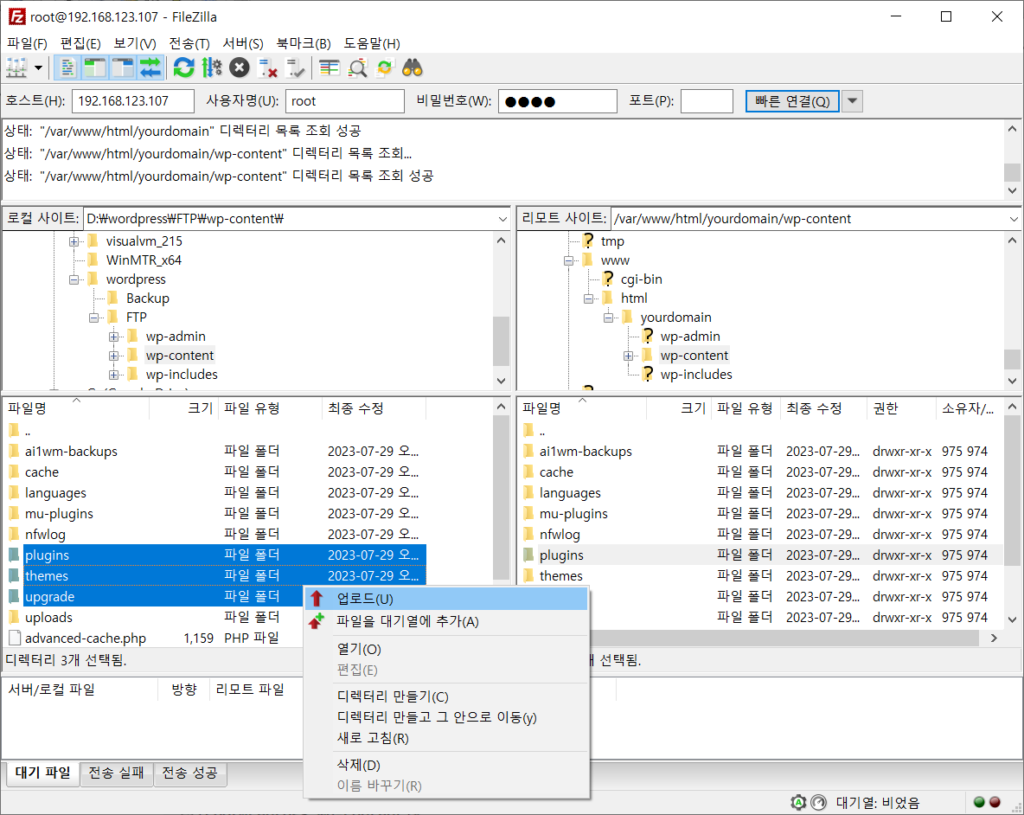
- 대표적인 free FTP solution인 FileZilla를 사용하여 VM에 접속합니다.
- 로컬사이트 : “워드프레스 백업하기”에서 FTP로 다운로드한 폴더 선택
- 리모트 사이트 : VM환경의 wp-content 디렉토리 선택
- 업로드 진행
- 마지막으로 VM환경에 원격 접속해서 plugins, themes, uploads 디렉토리의 소유자 및 소유그룹을 nginx로 반드시 변경해야 합니다. (chown -R nginx:nginx ./plugins)
3. VM IP로 워드프레스 접속 IP 변경하기(mariadb)
- `ifconfig` 명령어로 VM의 IP 확인합니다. 저의 경우 192.168.123.107입니다.
- `mysql -u wordpressuser -p` 명령어로 mariadb에 접속합니다. wordpressuser는 워드프레스 설치 시 사용했던 mariadb 사용자입니다.
WordPress가 설치된 디렉토리의 wp-config.php 파일에서도 mariadb 접속 정보를 확인할 수 있습니다.mysql -u wordpressuser -pEnter password:Welcome to the MariaDB monitor. Commands end with ; or \g.Your MariaDB connection id is 167Server version: 10.3.28-MariaDB MariaDB ServerCopyright (c) 2000, 2018, Oracle, MariaDB Corporation Ab and others.Type 'help;' or '\h' for help. Type '\c' to clear the current input statement. - 워드프레스용으로 생성된 db를 선택합니다. 저는 워드프레스 설치 시, “wordpressdb”라는 이름의 DB를 생성했습니다.
MariaDB [(none)]> Use wordpressdb;
Reading table information for completion of table and column names
You can turn off this feature to get a quicker startup with -A

Database changed
MariaDB [wordpressdb]>
- 기존에 설정되어 있던 접속 IP(xxx.xxx.xxx.xxx)를 확인한 후 VM의 IP(192.168.123.107)로 변경합니다.
MariaDB [wordpressdb]> SELECT * FROM wp_options WHERE option_name IN('siteurl','home');
+-----------+-------------+-------------------------+----------+
| option_id | option_name | option_value            | autoload |
+-----------+-------------+-------------------------+----------+
|         2 | home        | http://xxx.xxx.xxx.xxx/ | yes      |
|         1 | siteurl     | http://xxx.xxx.xxx.xxx/ | yes      |
+-----------+-------------+-------------------------+----------+
2 rows in set (0.000 sec)

MariaDB [wordpressdb]> UPDATE wp_options SET option_value='http://192.168.123.107' WHERE option_name = 'siteurl';
Query OK, 1 row affected (0.015 sec)
Rows matched: 1  Changed: 1  Warnings: 0

MariaDB [wordpressdb]> UPDATE wp_options SET option_value='http://192.168.123.107' WHERE option_name = 'home';
Query OK, 1 row affected (0.012 sec)
Rows matched: 1  Changed: 1  Warnings: 0
4. VM IP로 워드프레스 접속 IP 변경하기(nginx)
- nginx에 등록된 워드프레스 환경설정 파일의 server_name 지시자에 등록된 ip address 변경
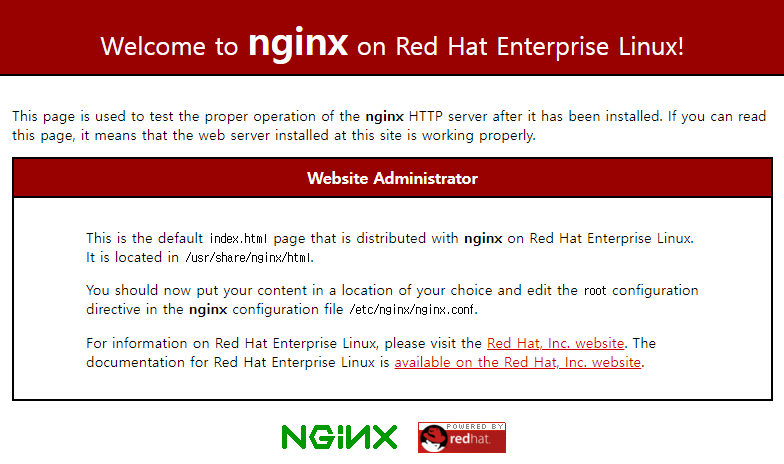
vi /etc/nginx/conf.d/yourdomain.confserver {listen 80;server_name 192.168.123.107 ;---------- More ----------} - 이 작업을 진행하지 않으면 아래와 같이 nginx의 default page가 출력됩니다.
